Useful hacks

How to Set up Calendly?


What is Calendly?

Calendly is your go-to tool for scheduling meetings and appointments with ease.

It's a user-friendly calendar scheduling tool that seamlessly integrates with your personal calendar. It eliminates the headache of coordinating meeting times, ensuring your schedule aligns smoothly with your professional commitments. With Calendly, you can bid farewell to appointment coordination hassles and concentrate on what truly counts – productive, stress-free interactions with your clients and colleagues. Calendly, offers seamless integration with popular calendar apps like Google Calendar, Outlook, and more. Connect your personal calendar to ensure your availability is always accurate.

2-1


In this guide, we'll walk you through the simple steps to set it up for your answering service. 

Why Answering Services Love Calendly

Answering services find Calendly to be a game-changer for several reasons. First and foremost, it's a free tool that effortlessly syncs with your personal calendar, ensuring your availability is always up to date. What's more, Calendly prioritizes privacy, as the service only reveals your available times to your clients, not your entire calendar. Now, let's dive into the steps to set up Calendly for your answering service.

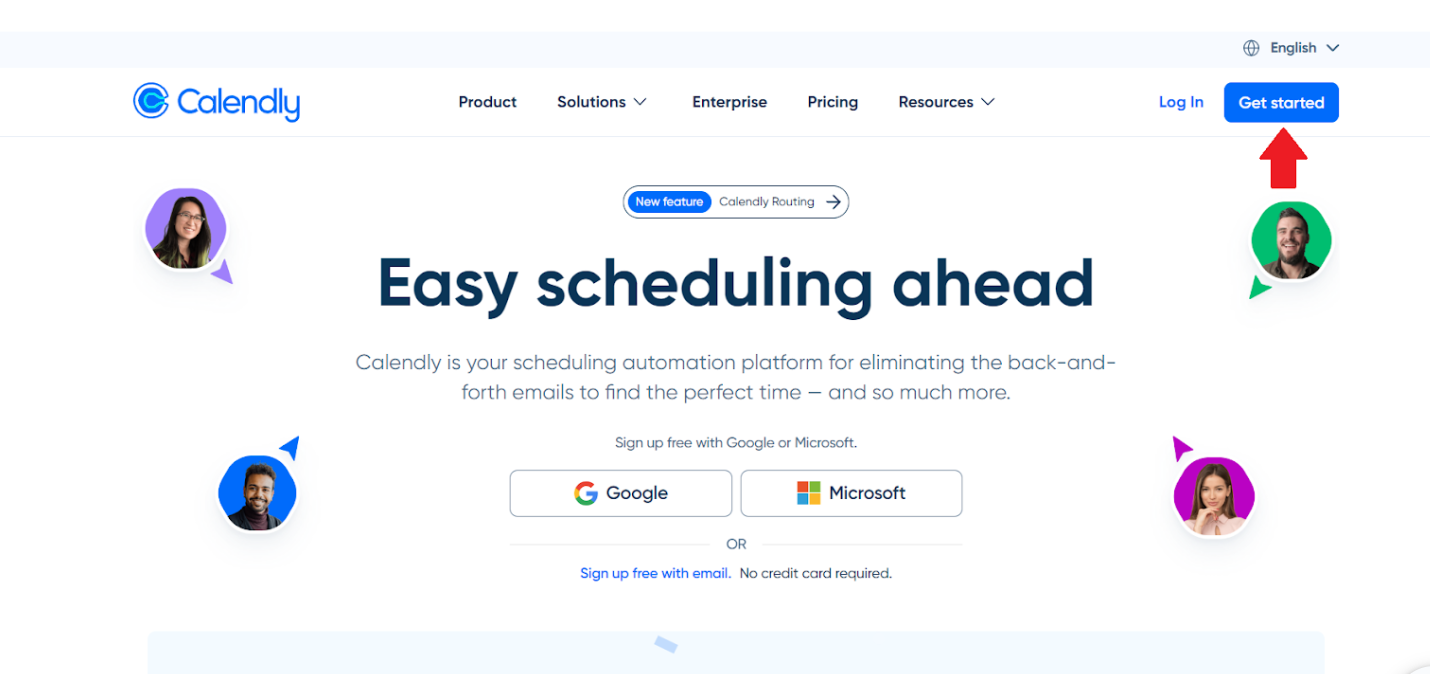
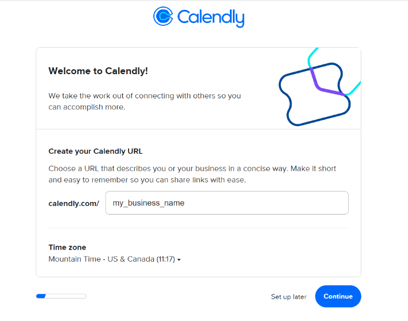
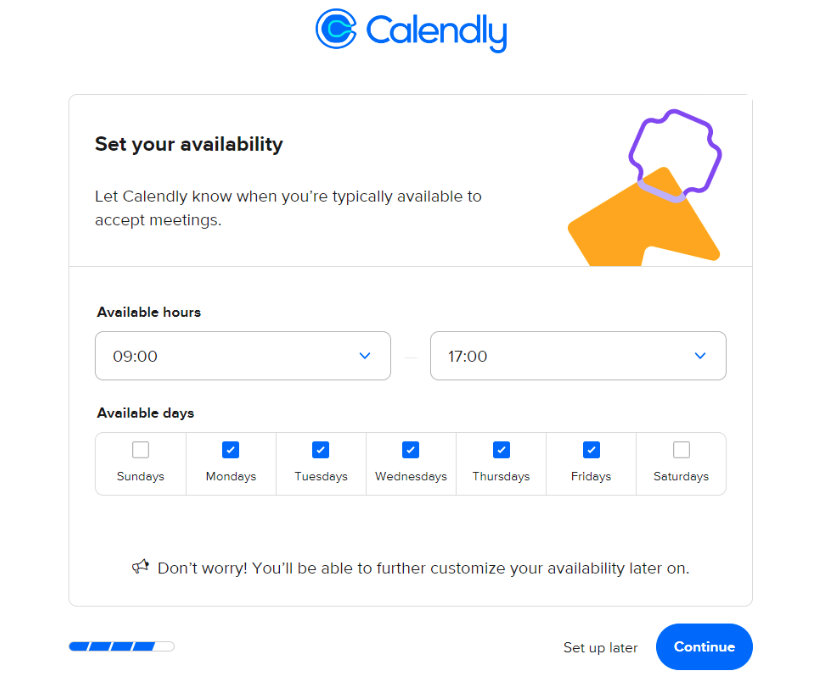
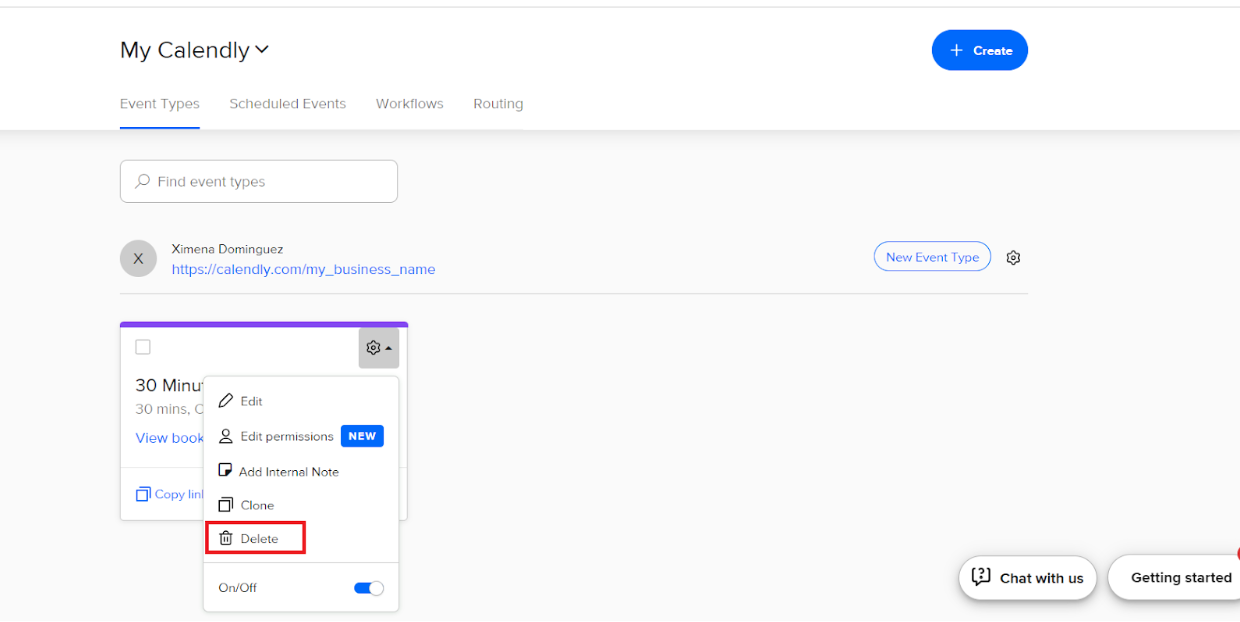
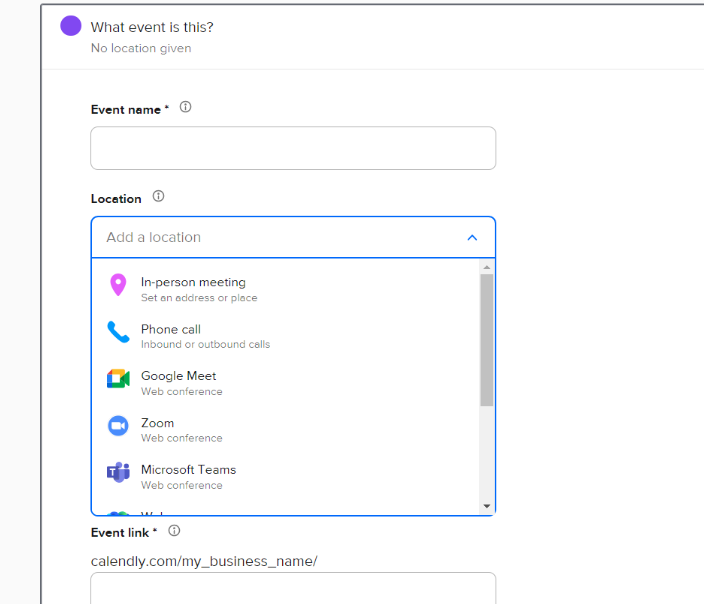
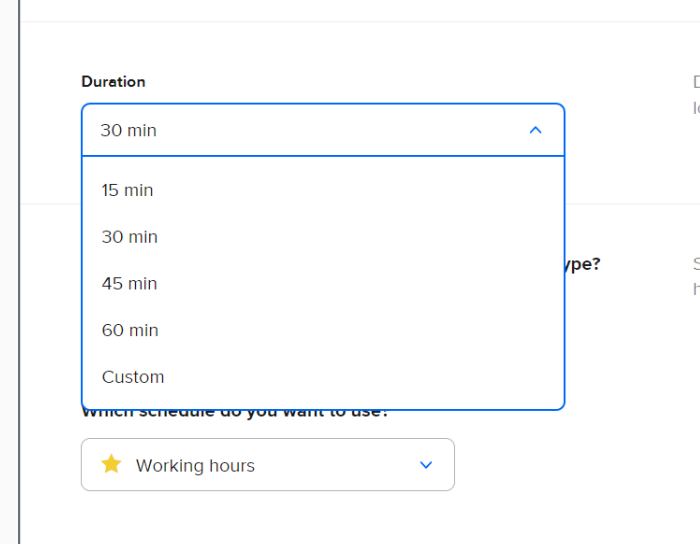
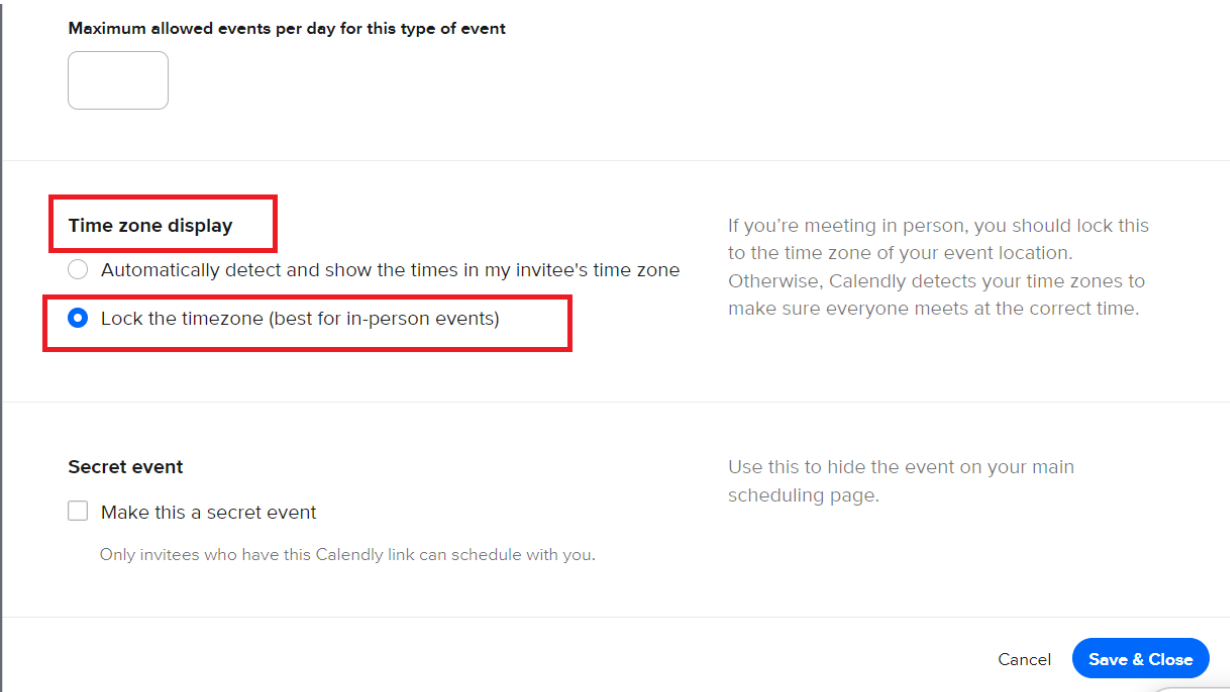
Setting Up Calendly in a Few Easy Steps

Step 1: Create Your Calendly Account

Start by visiting the Calendly website (www.calendly.com) and signing up for an account. You can use your email or your Google, Microsoft, or Apple accounts for quick and easy registration.

Screenshot 2023-10-10 at 12.39.47


Step 2: Customize Your Calendly Name and Time Zone

When setting up your Calendly account, take a moment to make it professional and user-friendly. Your Calendly Name is what everyone will see in your link, so use your business name for a polished touch. Don't forget to configure your time zone to ensure seamless scheduling.

Screenshot 2023-10-10 at 13.10.23


Step 3: Define Your Working Hours

In this step, you'll establish your preferred working hours, allowing you to communicate your availability effectively.

Screenshot 2023-10-10 at 13.14.07


Step 4: Remove the Default 3-Minute Event

By default, Calendly often includes a 3-minute event on your calendar. It's essential to remove this default event to ensure your calendar remains uncluttered, reducing the risk of operator errors when scheduling important appointments. Let's tidy up your calendar for optimal performance.

Screenshot 2023-10-10 at 13.23.25


Step 5: Creating Your First Event

To get started, click on "Create," then select "Event Type" to begin crafting your very first event on your calendar.

Screenshot 2023-10-10 at 13.26.30


Step 6: Select Your Event Type

Now choose the “One-on-One” event type to tailor your scheduling options.

Screenshot 2023-10-10 at 13.29.00


Step 7: Configuring Your Event Features

To begin, assign a meaningful name to your event, such as "In-Person Consultation" or "Virtual Consultation." Then, specify the location that corresponds to the nature of the consultation; if it's an in-person session, select "In Person," and choose accordingly for virtual meetings, ensuring your calendar reflects the specifics of each event type.

Screenshot 2023-10-10 at 13.38.26


Step 8: Select the Consultation Duration

By choosing the duration of your consultation, you gain precise control over your scheduling process. This ensures that appointments are only scheduled for the duration you specify. You can easily set the desired appointment duration, include buffer times between meetings, and customize event notifications to keep both you and your clients well-informed.

Screenshot 2023-10-10 at 13.34.32


Step 9: Lock Your Time Zone

First, you have to select “Additional Rules For Your Availability.” and then lock your time zone. This step is crucial for avoiding any time zone confusion. Ensure that your time zone is correctly set, especially if you serve clients from different regions. Calendly takes care of the rest by displaying available times in your client's time zone automatically.

Screenshot 2023-10-10 at 13.41.33


Step 11: Share Your Calendly

LinkNow, it's time to share your Calendly link with your clients. They can use this link to view your availability and schedule meetings with you effortlessly.


Streamline Your Answering Service with Calendly

Calendly is a game-changer for answering services, offering a free, user-friendly solution that keeps your calendar private while simplifying the scheduling process for your clients. By following these easy setup steps, you can enhance your business operations and provide an even better experience for your clients. 

Calendly revolutionizes the way answering services operate by offering a complimentary and user-friendly solution. It's your trusted ally for maintaining calendar privacy and streamlining the appointment scheduling process for your valued clients. By effortlessly following the setup steps provided, you'll not only enhance your business operations but also elevate the overall experience for your clients.

When you integrate Calendly into your answering service, it's like having a reliable scheduling assistant by your side. Beyond simplifying appointment booking, Calendly ensures that your team's availability and appointments seamlessly align. In the world of answering services, precision and efficiency are paramount, and Calendly rises to the occasion with its user-friendly and cost-free solution.

By embracing the straightforward setup steps detailed in this guide, you can enhance client satisfaction, deliver a smoother experience, and maintain the well-oiled efficiency of your operations.


Similar posts


Get notified on new insights 

Don't miss out on valuable insights that can transform your business. Sign up now and leverage our expertise to stay one step ahead of the competition. Stay informed, stay empowered, and unlock your business's full potential.